Photoshop editing
- Bethany Capstick

- Apr 2, 2019
- 1 min read
Before and after photoshop


The first thing i did was import my image into photoshop. The first bit of adjusting i did was changing the brightness and contrast. Changing the brightness might the whole image brighter but it also made all of the edges of the items sharper, it also made it easier to read the writing on the bottles easier.
Then I changed the contrast from 0 to -50. That dimmed the white background and reduced the exposure to light. Changing the contrast also made the items look more realistic from when i had only change the brightness.
Image below: brightness and contrast change


I then changed the exposure and offset. I only slightly increased the exposure as i took away the harsh light exposure previously so i increased it to +0.22 just to add a bit more light to the picture. I am unsure what the offset did however it did tone the harshness down from the lid and the guitar pic, it also made the bottle lighter and smoother to look more attractive.
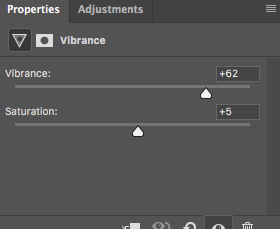
The final thing i did to this image was increasing the vibrance and saturation. When i increased the vibrance and saturation it added more colour to the bottle.


Comments